Giving Linux KDE a Mac OS look
Published 2005, last updated 2005
Summary - How to get Apple Mac Os X look on your linux system with kde.
Note - This tutorial assumes that you know how to compile and install a program from its source code.
Description
Default installation of Kde on any Linux system whether its Suse, Fedora or mandrake is dull and very boring.
With a cool wallpaper, some window decoration and a great icon package will make your linux system look just like Mac Os X. Now you will never have to say that Linux is ugly.
Note - I'm using Suse 9.3 with Kde 3.4 but the steps given here will work on any linux machine with Kde.
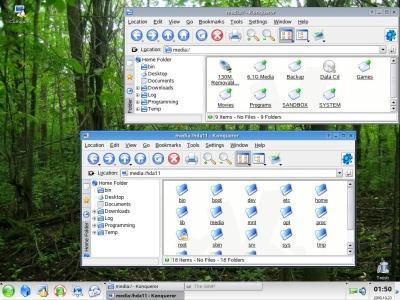
A default installation of a Linux operating system looks like Fig 1.
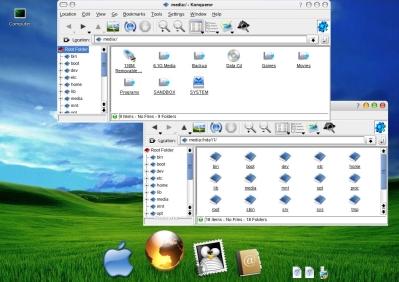
After the tutorial your linux desktop will look like Mac Os X clone shown in Fig 2.
Step 1 - Download Baghira.
Compile and run it.
To change the window decoration go to Control Center -> Appearance & Themes -> Window Decorations. Select Baghira and from the drop down list. There are many options for you to play with.
Step 2 - Hide Sidebar tabs.
Open "konquerorsidebartng.rc" file located in "~/.kde/share/config/" folder with a text editor like Kwrite, Kate or Emacs.
Set 'Hidetabs' option and also 'Hidetabs' option under [Filemanagement] section to true.
Note - If you can't see the file, select 'Show Hidden Files and Folders' in Konqueror.
Step 3 - Download Max Os X icons.
Run the build script to get the icon set. After running the script you will get the OS-L.tar.gz file. It will take some time to build the icon set depending on the speed of your computer.
Note - If you get an error like 'convert' program not found then install a program called ImageMagick from your Suse installation cd or download it from here imagemagick.org
After you build the Mac Os X icon set, go to Control Center --> Appearance & Themes --> Icons. Click on install new themes and add the OS-Ltar.gz file. This may take some time if you have a slow computer.
If you want to change the size of the icons click on advanced. Click on Apply to save your settings.
Step - 4 Download KXDocker.
Get the source code or the rpm file. I prefer the rpm file. Install the rpm.
Note - If you get any file missing errors, search for those filenames in google and download them.
Step 5 - (Optional) Download Mac Os X fonts.
For the full look this step used Apple's Lucida Grande and AppleGaramond fonts, which were floating around on osx-e.com at the time. That site is long gone now, and as these are Apple's proprietary fonts there's no legitimate place to download them — so just skip this step, or drop in a similar free sans like DejaVu Sans instead.
Go to Control Center --> System Administration --> Font Installer. Click on add font and select the font file.
That's it. If you followed each and every step your desktop will look like Fig 2. Although the Fig 2 is not the perfect Mac Os X clone, you can play with Baghira to get the perfect clone.
If you have any queries, suggestions or comments please email me at contact[at]sumedh.info